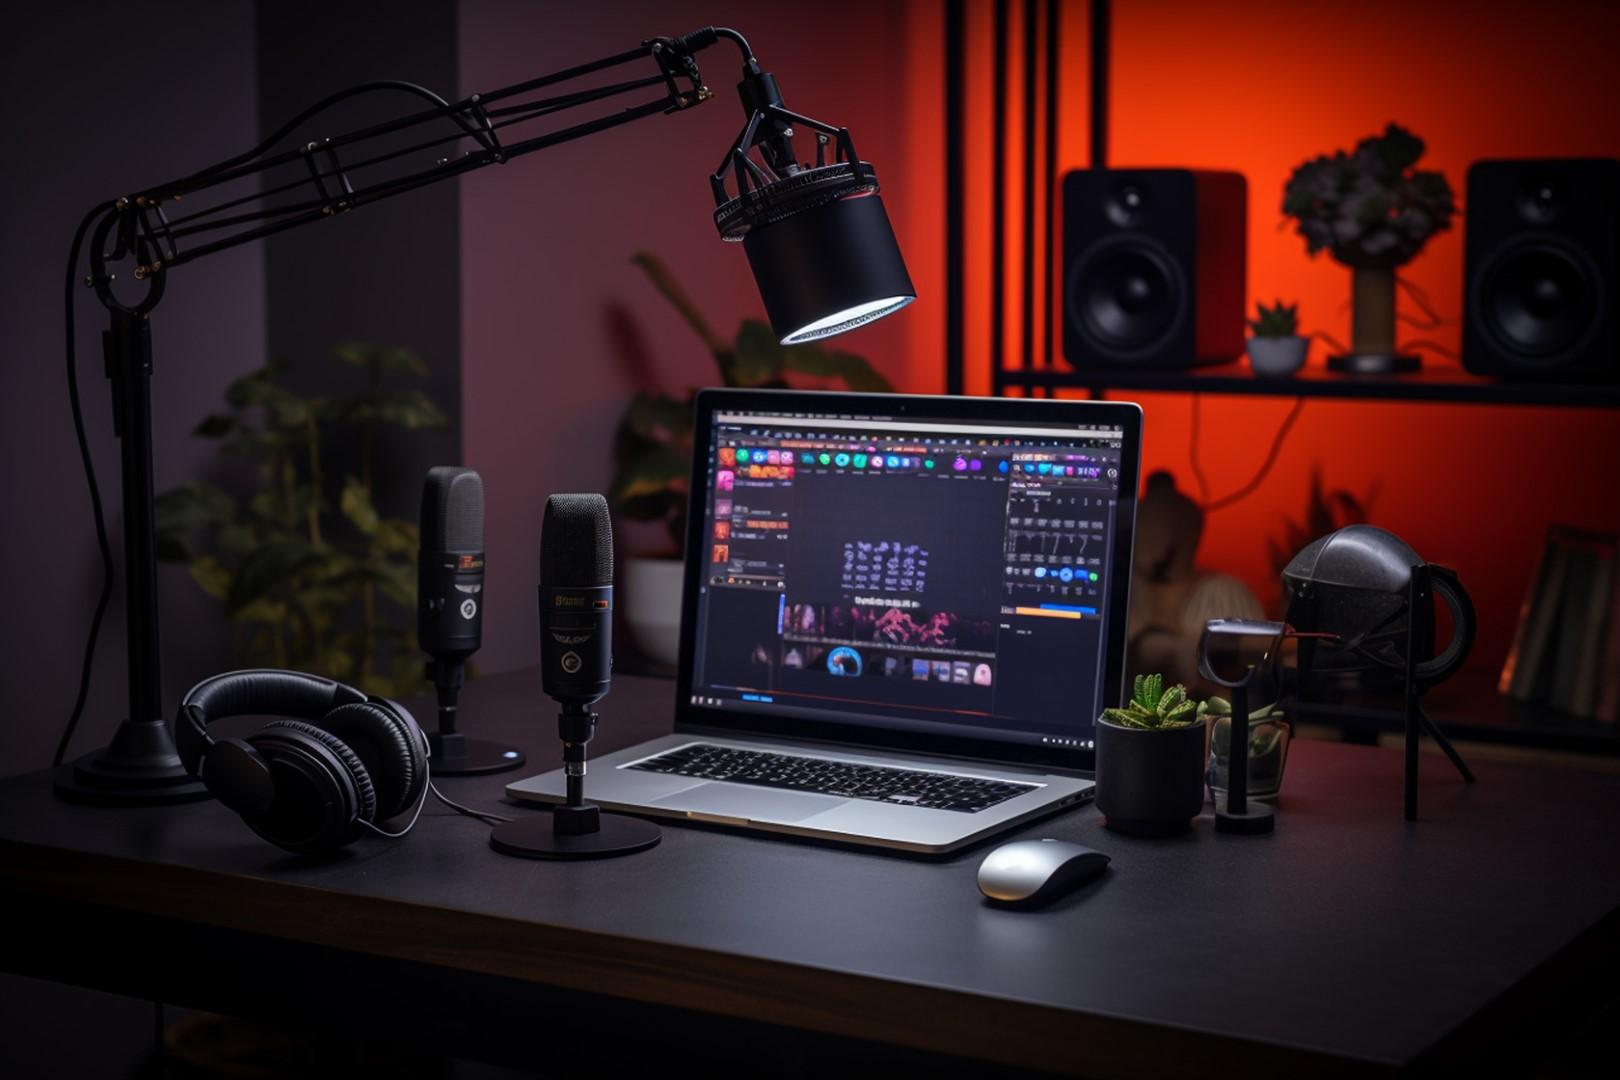
Recording audio from multiple sources can seem like a daunting task, but with the right setup and tools, it’s a powerful skill to master. Whether you’re a podcaster, musician, or filmmaker, learning how to combine audio from various inputs on your Mac opens up a world of creative possibilities. Here’s a step-by-step guide to get you started.
1. What Is Multi-Source Audio Recording on Mac?
Multi-source recording involves capturing sound from more than one audio input simultaneously. For example:
- Recording vocals with a microphone while capturing instrumentals from a keyboard.
- Mixing multiple microphones for a podcast with multiple guests.
- Combining system audio (e.g., music or sound effects) with external input.
To achieve this, you’ll need the right software, hardware, and a basic understanding of how Mac’s audio routing works.
2. Best Audio Equipment for Multi-Source Recording on Mac
Before diving into the technical setup, ensure you have the following:
- Audio Interface: A device that connects your microphones or instruments to your Mac. Popular options include Focusrite Scarlett, Universal Audio Apollo, or PreSonus AudioBox.
- Microphones: Depending on your needs, dynamic or condenser microphones can work.
- Cables: XLR or USB cables to connect your devices.
- Headphones: For monitoring and avoiding feedback during recording.
3. Set Up Aggregate Devices on macOS
macOS offers a built-in feature called Aggregate Device that allows you to combine multiple audio interfaces or inputs into a single virtual device. Here’s how to set it up:
- Open Audio MIDI Setup from the Applications > Utilities folder.
- Click the + button at the bottom-left corner and select Create Aggregate Device.
- Select the audio interfaces or inputs you want to combine by checking the boxes next to them.
- Name your Aggregate Device for easy identification.
4. Best DAWs for Multi-Source Audio Recording on Mac
Select a digital audio workstation (DAW) or recording tool that supports multi-source recording. Here are some beginner-friendly options:
- GarageBand: Free and powerful for basic needs.
- Audacity: Open-source and straightforward.
- Logic Pro X: Advanced features for a reasonable price.
- Adobe Audition: Ideal for podcasting and audio editing.
After installing your chosen software, configure the input device to the Aggregate Device you created earlier.
5. Configure Your Inputs
Within your recording software:
- Go to the Preferences or Settings menu.
- Under Audio Input, select your Aggregate Device.
- Assign specific inputs to individual tracks. For instance:
- Track 1: Microphone 1 (e.g., vocals).
- Track 2: Microphone 2 (e.g., instrument).
- Track 3: System audio (if using a virtual audio cable).

6. Optimize Your Recording Environment
Achieving great audio quality requires more than just good equipment. Pay attention to your surroundings:
- Minimize background noise.
- Use acoustic treatments like foam panels or blankets.
- Test your levels before recording to avoid clipping or distortion.
7. Test and Monitor
Before recording, do a quick test:
- Speak into each microphone or play each input source to ensure they’re active.
- Monitor the audio levels for each track to avoid peaking.
- Use headphones to listen in real-time and make adjustments as needed.
8. Record and Adjust
Once everything is set up:
- Hit the record button in your software.
- Keep an eye on the levels to ensure consistent audio quality.
- If needed, adjust the gain or positioning of microphones during breaks.
9. Edit and Export
After recording:
- Use your DAW’s editing tools to clean up the tracks, remove noise, and balance levels.
- Add effects like reverb or EQ for a polished sound.
- Export the final file in your desired format (e.g., WAV, MP3).
Common Challenges and Troubleshooting
- Latency Issues: If you experience delays, adjust the buffer size in your software settings.
- Input Conflicts: Ensure no other applications are using the same audio inputs.
- Feedback: Use headphones and position microphones away from speakers.
Mastering Multi-Source Audio Recording on Mac
Mastering multi-source audio recording on Mac takes practice, but the effort is worth it. Start simple, experiment with your setup, and refine your workflow as you go. With time, you’ll unlock the full potential of multi-source recording, enabling you to create professional-quality audio projects.
Ready to master multi-source audio recording on Mac? Start experimenting today and create professional-quality recordings with ease!


0 Comments